MAPLE BOARDS
How to Choose and Use a Maple Bar Board for Cocktail Garnishes
A maple bar board for cocktail garnishes needs a practical size, stable surface, and simple care.
The short answer
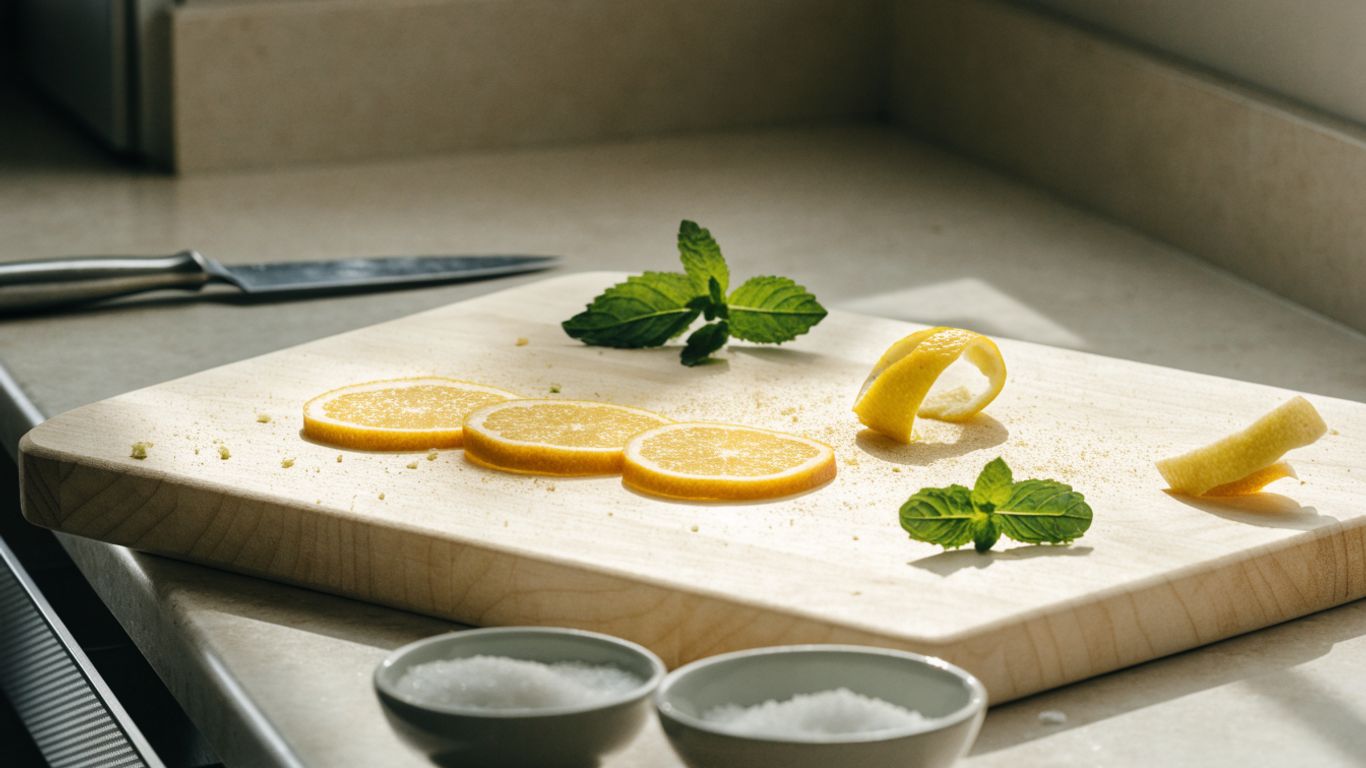
A maple bar board for cocktail garnishes works best when it fits your prep space and gives you room to cut without crowding. Choose a stable board with a smooth surface, then keep its care simple.
- Measure your counter or bar cart before choosing a board.
- Pick a shape and size that suit the number of drinks you usually make.
- Check the wood, grain orientation, finish, and edge smoothness.
- Keep washed garnishes apart from peels, pits, and other scraps.
- Hand-wash, dry fully, and condition the board when the wood looks dry.
What a maple bar board does
A maple bar board gives you a compact surface for cutting citrus, trimming herbs, and portioning other garnishes. It is useful when you want a separate spot for drink prep, though it does not replace the tools and workspace needed for a full bar. Its value is mostly practical: fewer trips between the counter and the cutting surface.
How it differs from a standard cutting board
A bar board is generally sized and set up for small tasks, rather than broad meal prep. You might cut a lemon wheel, set out a few olives, and keep a knife nearby without taking over the kitchen counter. The trade-off is limited space: a compact board can feel cramped if you prepare garnishes for a crowd.
Why maple suits citrus, herbs, and other garnishes
Maple provides a firm, smooth wood surface for routine slicing and trimming. Hard maple is a common choice for cutting boards; it is denser than soft maple, while the best choice still depends on the board’s construction and your use. For more on the distinction, see this guide to hard maple and soft maple.
When a dedicated bar board is useful
A dedicated board helps when you make drinks often, host guests, or want garnish prep separate from your main cooking tasks. You can leave it near the bar cart or bring it out for a short prep session, then put it away. If your garnish routine includes a lot of herbs, this advice on chopping herbs and vegetables for maple boards can help you think through board size and knife work.
What it cannot replace in a full bar setup
A board is a cutting surface, not a complete cocktail station. You will still need suitable knives, glassware, a shaker or mixing glass, and containers for ingredients that are ready to serve. Keep the board’s role modest and it will be easier to keep the work area orderly.
How to choose the right size and shape
Choose a board that fits the space where you will use and store it, with enough room for your usual garnish prep. A small rectangle is an easy shape to place on a counter or bar cart, but its footprint should not come at the cost of a stable cutting area. Measure first; guessing from a product photo is a reliable way to buy the wrong size.
Match board dimensions to your counter or bar cart
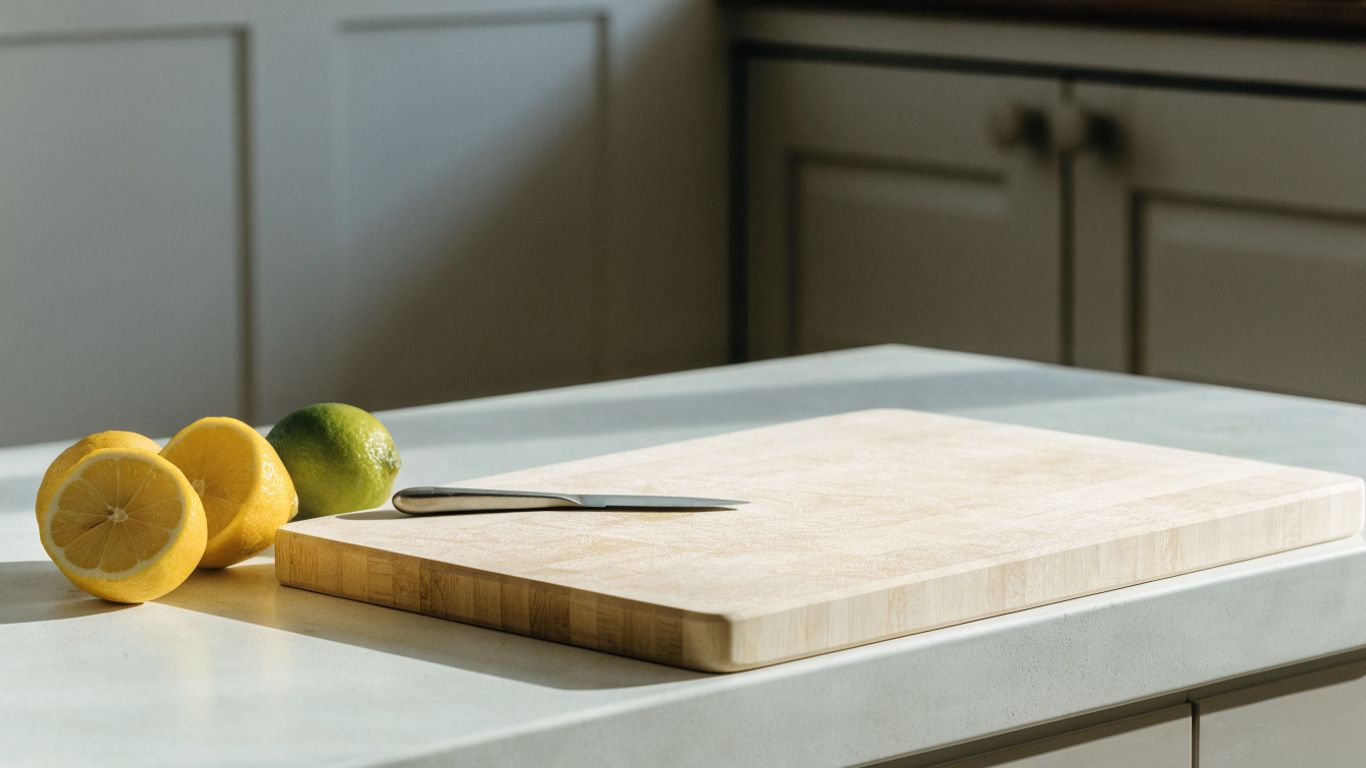
Measure the usable surface, not just the overall width of the cart or counter. Leave room around the board for a knife and a small bowl, and check that the board can sit flat without hanging over an edge. As one reference point, the Bevel & Bond End-Grain Maple Cutting Board measures 17 by 13 inches and is 1.75 inches thick, a larger format than many bar boards.
Choose a layout for one drink or several
Think about how many garnishes you prepare at once, since the board has to hold the cutting task without becoming the holding area for every ingredient. The table below offers a practical way to match the layout to the occasion; it is a planning guide, not a fixed sizing standard.
| Prep situation | Useful layout | Main trade-off |
|---|---|---|
| One or two drinks | Small board with room for citrus and knife | Less room for scraps |
| A few drinks | Medium surface with a small bowl nearby | Needs more counter space |
| Several guests | Larger board or a separate tray for finished garnishes | Takes more room to store |
If you often make drinks for a group, keep ready-to-serve ingredients off the cutting area in a separate dish. That leaves the board free for slicing and makes the setup easier to reset between rounds.
Compare handles, juice grooves, and flat edges
A flat edge can make a board easier to place close to a wall or cart rail, while a juice groove may help contain liquid from cut fruit. A groove also takes up some usable surface, so it is not automatically an advantage on a very small board. Handles can help with carrying, but check that they do not make the board awkward to position or store.
Check whether the board fits your storage space
Before choosing, measure the shelf, drawer, or cabinet where the board will live and account for its thickness. A thicker board may feel steadier during cutting, but it can be harder to tuck into a crowded drawer. Store it where it can dry completely rather than wedged tightly between damp items.
What to look for in maple construction
Look for clearly identified maple, sound joinery, a smooth working surface, and edges that feel comfortable in your hands. Hard maple is a strong general-purpose option, but species alone does not tell you whether a board is well made. Grain direction, finish, and careful construction all matter.
Hard maple versus other maple varieties
Hard maple and soft maple are names for different groups of maple species, not grades of the same board. Hard maple is denser, while soft maple can be a reasonable choice for lighter use; the specific wood and how the board is made both matter. Read more about the differences in hard maple versus soft maple before deciding which description fits your needs.
End grain and edge grain for garnish prep
End-grain boards show the ends of the wood fibers at the surface, while edge-grain boards show long strips running along the board. Either can serve for garnish work if the surface is stable and smooth. The Bevel & Bond End-Grain Maple Cutting Board is made from North American hard maple and has an end-grain construction; that is one documented example, not a requirement for a bar board.
Surface finish and food-safe materials
Ask what finish was used and follow the maker’s care directions, especially if the board will be cut on rather than used only for serving. For a general overview of food-safe finishes, look for information that clearly distinguishes a finish from a board conditioner. Avoid assuming that a glossy surface tells you what material was applied.
Signs of solid construction and smooth edges
Inspect the board for gaps, raised seams, rough spots, and edges that catch a cloth or your fingertips. A board should sit steadily on your work surface, with no obvious rocking. If you are considering a thicker grooved board, this guide to juice grooves and board thickness explains what to consider when weighing those features.
How to set up the board for garnish prep
A useful setup gives you a clear cutting zone and a separate place for finished garnishes and waste. Put the board on a dry, steady counter, then arrange only the tools and ingredients you need for the next few minutes. A little separation saves cleanup and reduces the odds of mixing scraps back into prepared ingredients.
Keep citrus, herbs, and tools within easy reach
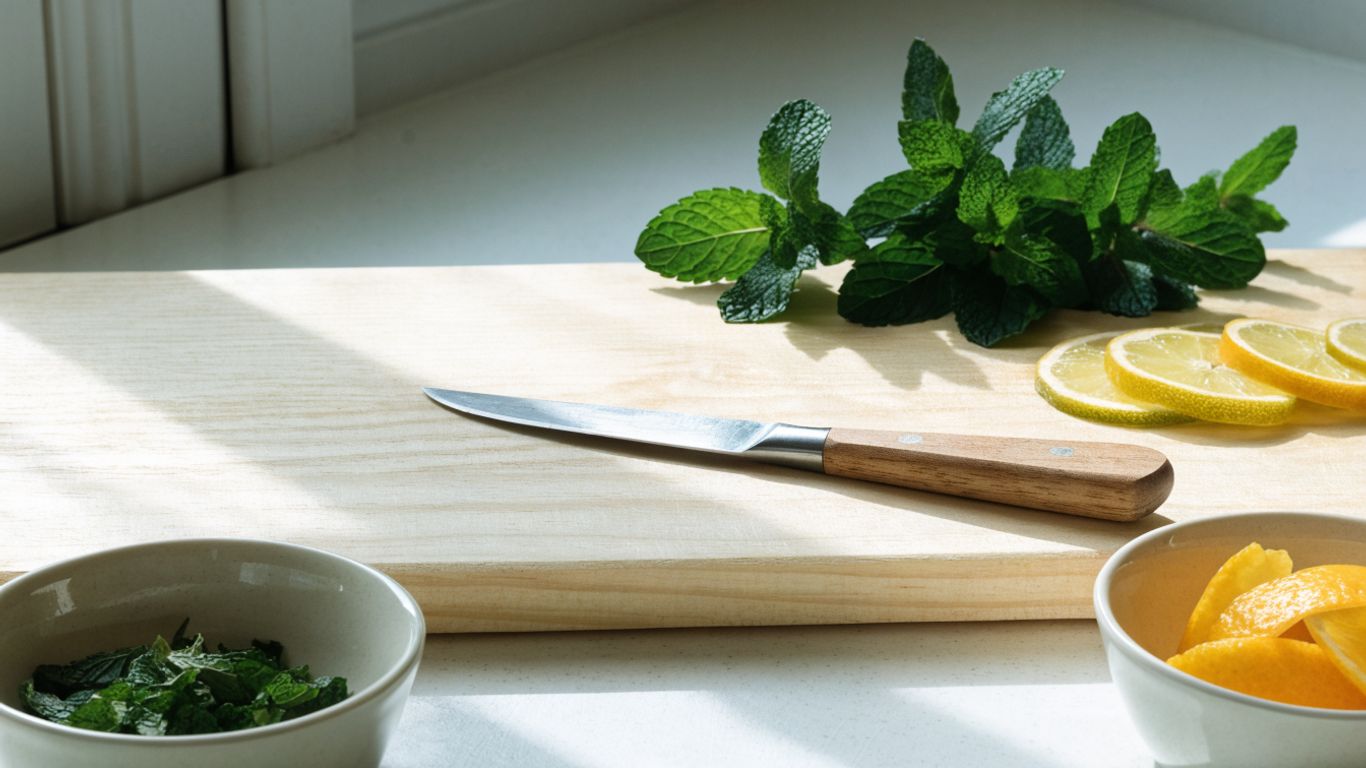
Set washed citrus and herbs near the board, with your knife placed safely beside it when you are not cutting. Keep the drink glasses and mixing tools close enough to reach without leaning across the blade. The Bevel & Bond End-Grain Maple Cutting Board includes a juice groove, a feature that can be useful when cut fruit releases liquid during prep.
Separate washed garnishes from scraps
Use one spot for ingredients you have rinsed and another for peels, stems, pits, and trimmings. A small scrap bowl is often enough, and it keeps the cutting surface from filling up as you work. Once ingredients are cut, move them to a clean dish rather than piling them on top of the waste area.
Use small bowls or trays for prepared ingredients
Small bowls keep olives, cherries, or citrus pieces together and make it simple to carry them to the serving area. If you are preparing several garnish types, give each one its own dish instead of letting juices mingle on the board. This is a small habit, but it makes a busy counter much less chaotic.
Arrange the board to avoid crowding
Keep the cutting area open and move ingredients off the board as soon as they are ready. A compact arrangement is easier to work with than a board covered edge to edge in bowls and fruit. For a quick visual walkthrough, use the video below as a reminder of basic cutting-board prep habits.
How to prep common cocktail garnishes
Good garnish prep is mostly careful knife work and a bit of restraint. Cut only what you need, use a clean and stable board, and avoid crushing delicate ingredients while arranging them. A neat garnish should be easy to handle, not a small engineering project.
Cut citrus wheels, wedges, and twists
For wheels, trim the ends if needed and slice across the fruit into even rounds. Cut wedges lengthwise, then make a small slit in the flesh if you want one to sit on a glass rim; for a twist, remove a thin strip of peel and avoid taking too much of the bitter white pith. This guide to citrus twists for cocktails offers another useful reference for shaping citrus.
Handle herbs without bruising them
Rinse herbs gently, dry them well, and remove any damaged leaves or tough stems. Use a sharp knife and a light touch, since pressing hard can bruise tender leaves and leave them looking tired. Add delicate herbs close to serving time so they stay presentable.
Prepare olives, cherries, and other ready-to-serve garnishes
Drain brined or jarred garnishes before placing them in small serving bowls, and keep any liquid from spreading across the cutting surface. If you need to pit or cut an ingredient, use a stable spot on the board and clear away pits promptly. Keep prepared items covered or chilled as appropriate for the ingredient and serving plan.
Use a sharp knife and a stable board
A sharp knife needs less pressure than a dull one, which makes small cuts easier to control. Set the board on a dry surface and stop if it slides or rocks; a damp towel beneath it can help steady it during use. Work slowly around small fruit, where fingers and blade are close together.
How to clean and store a maple bar board
Clean the board soon after garnish prep, especially when citrus juice, syrup, or brine has touched the surface. Hand-wash with mild soap and warm water, then dry it fully before storage. Routine care is simple, but wood should not be left soaking or put through dishwasher heat.
Clean promptly after citrus, juice, or syrup
Wipe away scraps, then wash the board with warm water and mild soap. Rinse without letting water pool on the surface, and pay attention to grooves or edges where sticky residue can linger. For more detail on conditioning an end-grain maple board, follow a care routine suited to the board’s construction.
Dry the board fully before putting it away
Use a clean towel to remove surface water, then stand the board upright or place it where air can reach both faces. Do not put it away damp in a closed drawer. Good airflow makes the drying step more reliable and keeps the board ready for its next use.
Condition the wood when it starts to look dry
When the surface looks pale or dry, apply food-grade mineral oil or a suitable board conditioner according to its directions. A monthly check is a practical routine, though how often you need to condition depends on use and the room’s conditions. Board Balm is a mineral oil and beeswax conditioner; use any conditioner only as directed.
Avoid soaking, harsh cleaners, and dishwasher heat
Do not leave the board submerged, scrub it with harsh cleaners, or put it in the dishwasher. Those habits expose wood to prolonged moisture or high heat, neither of which belongs in ordinary board care. Wash by hand, dry it fully, and store it in a place with room for air to circulate.
Choosing a maple bar board for cocktail garnishes
A good maple bar board is the size you can use comfortably, with a stable surface and construction you can inspect. Keep garnish prep tidy by separating finished ingredients from scraps, then wash and dry the board promptly so it is ready for the next round.
Frequently Asked Questions
What size should a cocktail garnish board be?
Choose a size that fits your counter or bar cart while leaving enough room for a knife and the garnishes you usually prepare. Measure the storage spot too, especially if the board is thick.
Is maple a good wood for cocktail garnish prep?
Maple is a common choice for cutting boards and offers a firm, smooth surface for slicing fruit and trimming herbs. Check the species, construction, and finish rather than relying on the wood name alone.
Do I need a juice groove on a bar board?
Not necessarily. A groove can contain some liquid from cut fruit, but it also reduces the flat surface available for cutting and setting ingredients down.
Is end grain better than edge grain for garnishes?
Both grain orientations can work for garnish prep. Consider the board’s stability, surface quality, size, and care needs along with the grain direction.
How do I keep cocktail garnishes separate from scraps?
Set aside a small bowl for peels, stems, and pits, then move cut garnishes into clean serving dishes. Keeping those areas distinct makes the prep surface easier to manage.
How should I wash a maple bar board?
Hand-wash it with mild soap and warm water, then dry it fully. Avoid soaking the wood or putting the board in a dishwasher.
How often should I condition a maple board?
Check the surface regularly and apply food-grade mineral oil or a suitable board conditioner when the wood looks dry. A monthly check is a simple starting point, but use and room conditions can affect the schedule.