MAPLE BOARDS
How to hull and slice strawberries: A simple step-by-step guide
Learn how to hull and slice strawberries cleanly, preserve fruit, cut even pieces, and store them safely.
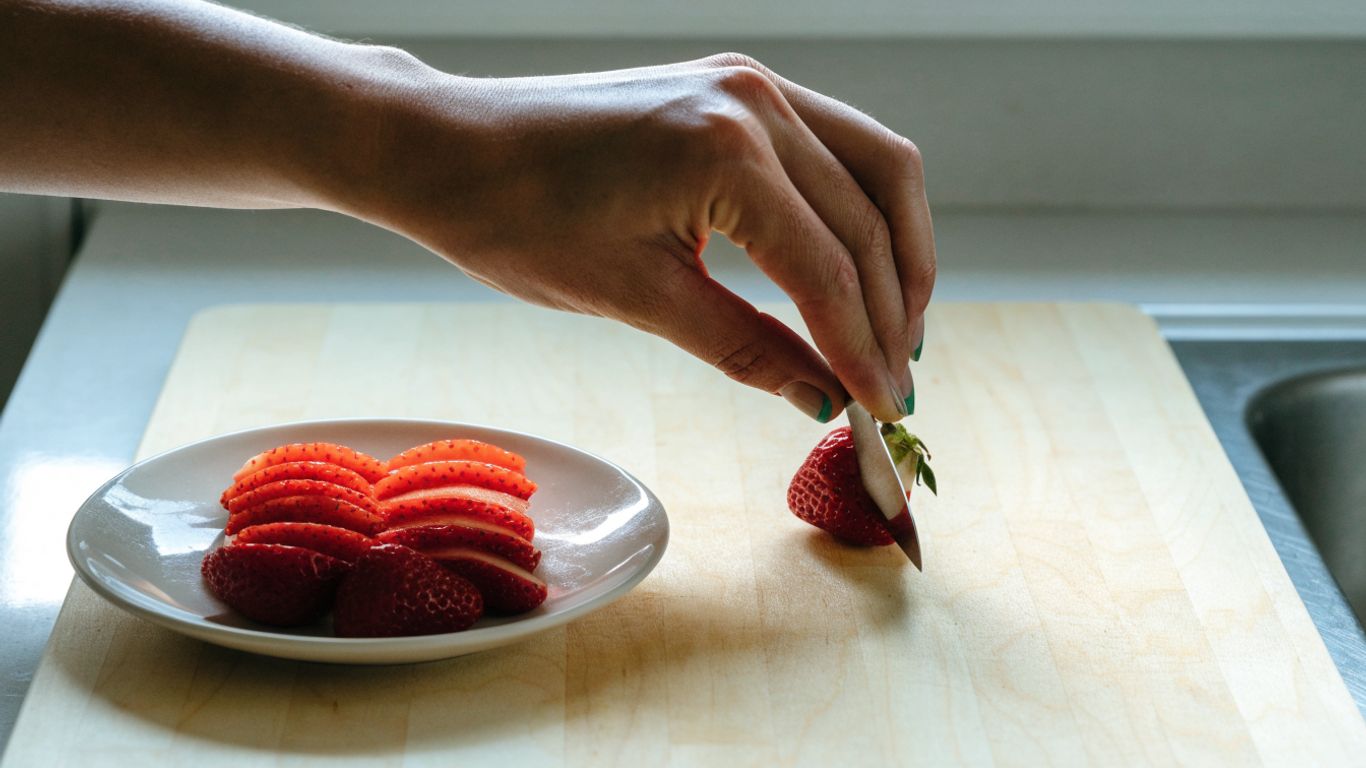
The short answer
A sharp knife, dry berries, and a steady board make the job simple. Hull only what you need, then slice with light pressure.
- Choose firm, bright strawberries and rinse them under cool water before cutting.
- Dry the berries well so they are easier to hold and slice.
- Remove the stem and core with a small knife, or push the core out with a straw.
- Set each berry cut-side down and keep slices a consistent thickness.
- Refrigerate prepared berries promptly and discard any that look moldy or smell off.
Choose and prepare the strawberries
To learn how to hull and slice strawberries neatly, start with berries that are ripe but still firm. Rinse the fruit before cutting, then dry it thoroughly so it does not slip around on the board. If you are not preparing the berries now, leave them unwashed and chill them until you are ready.
Pick ripe berries that are firm and bright
Look for strawberries with an even red color, fresh-looking green leaves, and no soft, wet patches. A berry should give slightly when pressed, not collapse in your fingers. Size is less important than firmness; berries of different sizes can still be sliced evenly if you adjust your cuts to match.
Sort through the container before you begin. Set aside bruised or very soft berries for a sauce or smoothie, and discard any with visible mold. This small check keeps damaged fruit from getting in the way while you work.
Rinse strawberries under cool water
Rinse the berries gently under cool running water just before preparing them. Move them around with your fingers to wash away dirt, but do not soak them; sitting in water can leave them waterlogged. If you are storing the rest of the container, wash only the portion you plan to use.
A quick rinse is enough for everyday prep. After washing, transfer the berries to a clean towel rather than leaving them in the sink or colander while you set up the rest of the kitchen.
Dry them well before cutting
Pat each berry dry with a clean kitchen towel or paper towel, including around the leafy top. Dry fruit is easier to control than slick fruit, especially when you are holding a small berry close to a knife. Take an extra moment here; it makes the next steps less slippery.
If you are working with a large batch, spread the berries in a single layer on a towel and blot them gently. Avoid rubbing, which can bruise ripe fruit. Once dry, move the berries to the cutting board and begin hulling.
Set up your tools and cutting surface
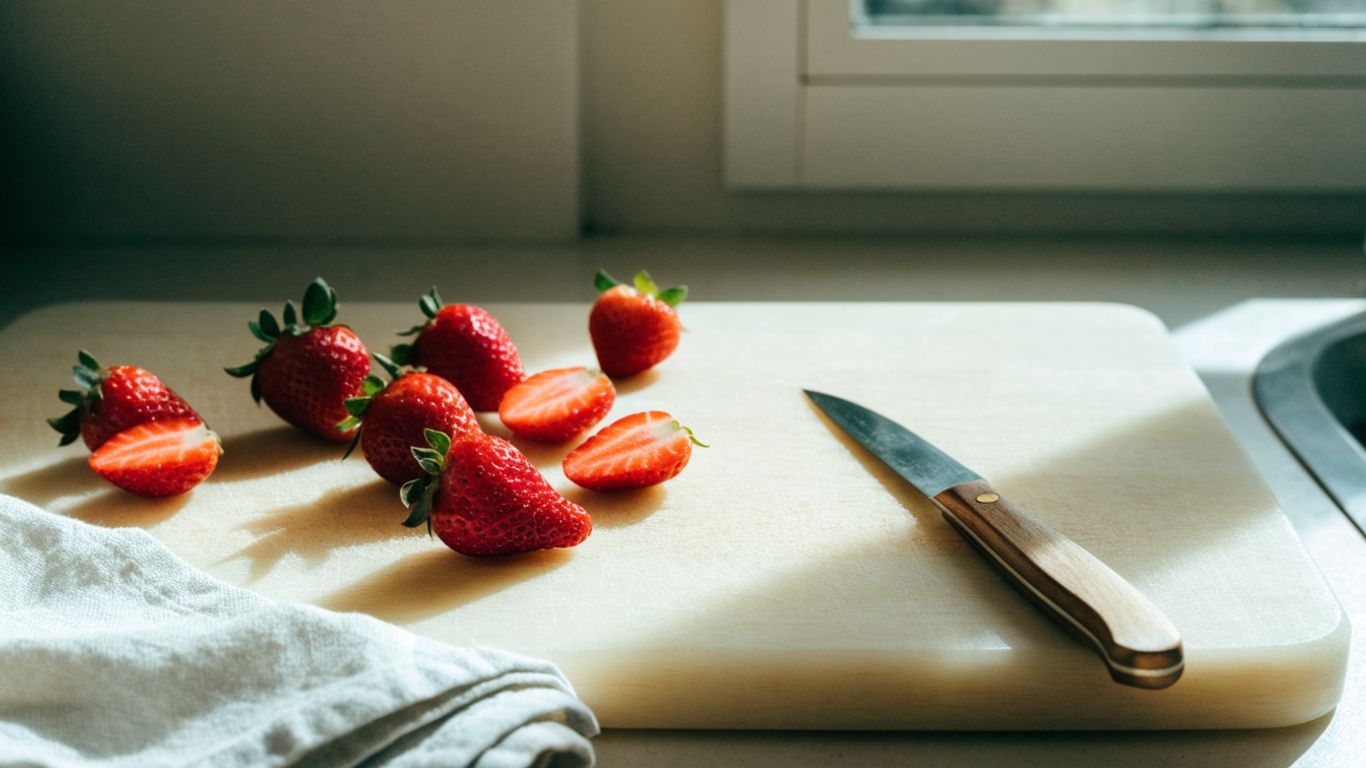
Before you cut, clear enough counter space for the berries, a bowl for tops, and a plate or container for the finished slices. A small, sharp knife gives you more control than a large blade, while a stable board keeps the work calm. The Bevel & Bond End-Grain Maple Cutting Board measures 17 by 13 inches, one documented example of a board size; you do not need that exact size for a few berries.
Choose a paring knife or small chef’s knife
A paring knife is handy for trimming around the leafy cap and cutting small berries. A small chef’s knife also works well if it feels comfortable in your hand and has a sharp edge. Choose the knife you can guide precisely, not the one that looks most impressive in the drawer.
Keep a bowl nearby for stems and leaves, and use a plate or clean container for the prepared fruit. This simple setup reduces unnecessary reaching and keeps scraps from mixing with the slices. For another example of careful board-and-knife prep, see the steps for cutting bell pepper into even strips.
Use a stable cutting board
Set the board on a flat, dry counter. If it shifts, place a damp, wrung-out towel underneath it to help hold it in place. The Bevel & Bond End-Grain Maple Cutting Board is listed with non-slip feet, a specific feature that suits the practical goal of keeping a board steady; whatever board you use, check that it does not slide before you start.
Use a board with enough room to separate uncut berries from finished slices. A crowded surface invites clumsy movements, and strawberry juice can make a small board slick. Wipe up juice as you go if it begins to pool.
Keep your fingertips tucked while cutting
Hold the strawberry with your fingertips curled slightly inward, keeping your knuckles nearer the blade than your fingertips. Move the berry or your guiding hand a little at a time instead of trying to cut through it in one forceful stroke. The Bevel & Bond End-Grain Maple Cutting Board is also listed with finger grips; that is a documented feature of the board, not a substitute for keeping your fingers clear of the blade.
For a small berry, you can steady it with the leafy end while trimming, then set it flat before slicing. If the berry rolls, stop and reposition it rather than chasing it with the knife. Slow, controlled cuts are usually quicker than fixing a squashed berry or a nicked fingertip.
Hull strawberries without wasting fruit
Hulling means removing the leafy cap and the small firm core just beneath it. You can do this with a paring knife or a drinking straw, and both methods preserve more fruit than simply cutting off the whole top. Choose based on the berry and the number you have to prepare.
Remove the stem and leaves with a paring knife
Hold a dry berry gently and insert the knife tip beside the leafy cap at a slight angle. Turn the berry as you guide the blade around the stem, aiming inward so the cut forms a shallow cone. Lift out the cap and core, then check that you have not removed more flesh than necessary.
Keep the blade tip controlled and close to the leaves. A small, shallow cut is easier to manage than a deep scoop, especially with smaller fruit. If you want another description of the basic knife method, this strawberry hulling guide covers the same kind of careful trimming.
Use a drinking straw to push out the core
For a quick alternative, remove the leafy top or leave it in place and push a sturdy drinking straw up through the pointed end of the berry toward the stem. The straw should pass through the center and carry the core and leaves out with it. A thin, firm straw tends to be easier to guide than one that bends readily.
This method can be handy when you have a batch to prepare, though it may leave a rough opening or push out more fruit in a very small berry. The straw method for hulling strawberries offers another look at the technique. Either way, keep the berry supported and aim through its center rather than forcing the straw at an angle.
Compare methods for speed and control
The knife gives you precise control over how much fruit you remove; the straw takes less knife work but can be less exact. Use the quick comparison below to choose the method that fits the berries in front of you.
| Method | Best suited to | Main trade-off |
|---|---|---|
| Paring knife | Small batches and careful trimming | Requires more individual cuts |
| Drinking straw | A batch of medium, firm berries | Can remove extra fruit or bend |
| Flat top trim | Very soft berries that are hard to hold | Removes more edible flesh |
For most firm berries, the knife is the more controlled choice, while the straw is a useful shortcut when the fruit is large enough to guide it cleanly. A flat trim is quick, but it wastes more of the berry, so save it for cases where holding the fruit safely is difficult.
Slice strawberries evenly
Once the berries are hulled, place them on the board one at a time and decide how you plan to use them. Rounds work well for topping and layering, while lengthwise cuts make wedges or longer slices. A consistent thickness helps the pieces look tidy and makes them easier to serve.
Place each berry cut-side down for stability
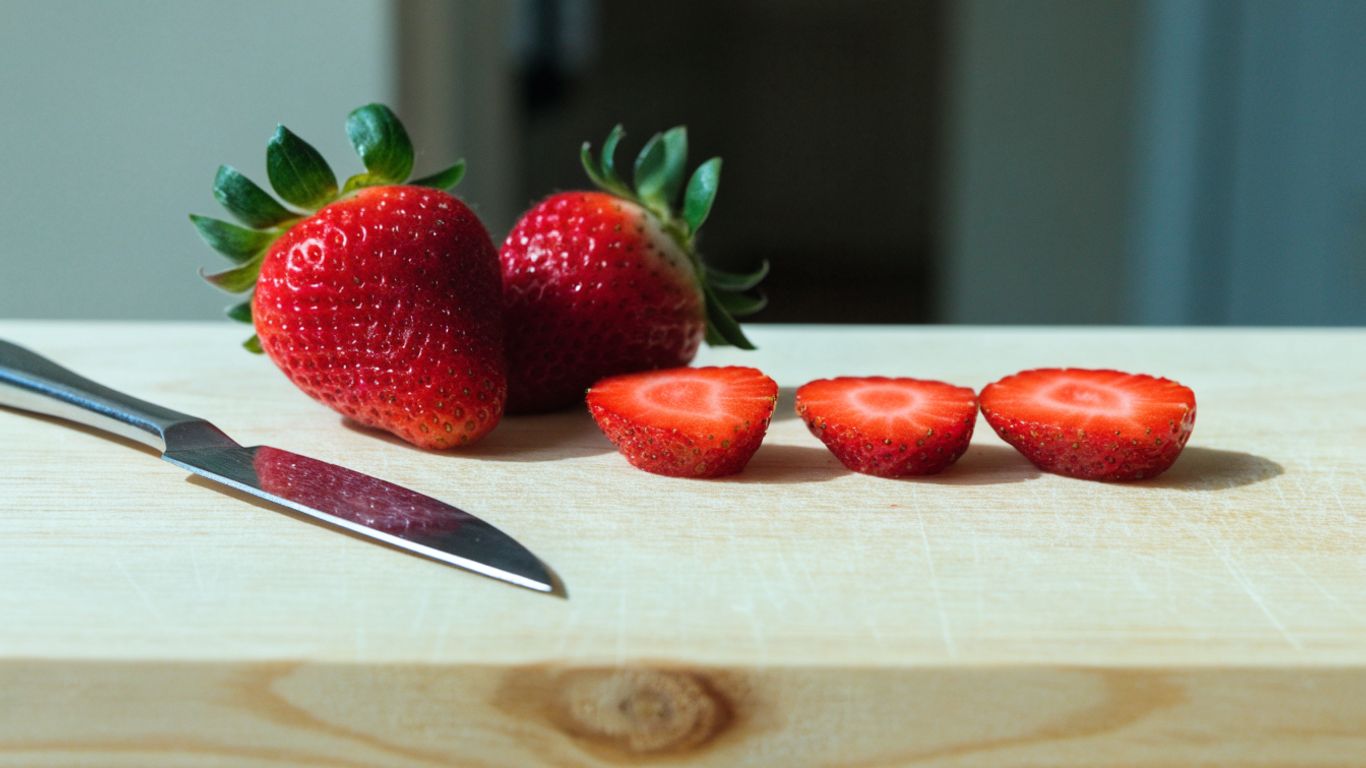
If you have removed the leafy top with a knife, set that flat end on the board. The berry is less likely to roll this way, leaving you free to guide the knife through the fruit. For berries hulled with a straw, trim a thin slice from one end if needed to create a stable base.
Use your free hand to hold the berry gently, with fingertips tucked back. The Bevel & Bond End-Grain Maple Cutting Board is 17 by 13 inches, but the important point for slicing is simply having a dry, steady surface with enough room to work. Place finished pieces to one side so they do not crowd the next berry.
Cut lengthwise for wedges or crosswise for rounds
For wedges, slice from the leafy end toward the pointed tip. For rounds, turn the berry on its side and cut across it in parallel strokes. Either direction works; choose the shape that suits the dish rather than trying to make every berry look identical.
If you are making a fruit salad, you might mix rounds and wedges so the pieces are easy to pick up. For a neat topping, keep the slices in one style and arrange them as you go. A short visual demonstration can help you see the hand position and pace.
Adjust slice thickness for the recipe
Thin slices suit a layered dessert or a delicate garnish, while thicker pieces hold their shape better in a fruit salad. There is no single correct measurement, but aim for similar thickness within each batch so the pieces are ready at roughly the same time and look balanced together.
If the berries are especially large, halve them lengthwise before making smaller pieces. For small berries, a few clean rounds may be all you need. Keep the knife moving with light, even strokes rather than pressing down hard.
Keep slices neat and prevent bruising
Fresh strawberries are soft, so neat cuts come from a sharp blade and a light touch. Work in small batches rather than piling berries on the board, and keep the fruit cool until you are ready to serve it. A little juice is normal; crushed, watery pieces usually mean the knife or your grip is putting too much pressure on the fruit.
Use a sharp knife and light pressure
A sharp knife passes through the skin without needing a hard push. Guide the blade in a smooth motion and let its edge do the work. If the skin catches or the berry flattens under the blade, pause to check the knife rather than pressing harder.
Wipe the blade when juice or pulp begins to cling to it. That keeps later slices cleaner and helps prevent the knife from dragging through the soft flesh. Small, deliberate cuts are more reliable than trying to slice several berries at once.
Cut berries shortly before serving
Strawberries release juice after they are cut, so slice them close to serving time when you can. If you need to work ahead, transfer the pieces to a covered container and refrigerate them promptly. Keep them chilled until you are ready to add them to a dessert or dish.
For a platter, you can wash and dry the berries earlier, then hull and slice them nearer the meal. This splits the work without leaving the cut fruit on the counter for long. A few minutes of fresh prep also helps the pieces keep a cleaner shape.
Separate soft or overripe berries before slicing
Very soft berries are more likely to collapse under the knife, so set them aside before you start. Use sound, firm berries for slices that need to hold their shape, and reserve softer fruit for a sauce, mash, or smoothie if it is still fresh and free of mold.
If a berry has a bruised patch, trim away the damaged area with a clean knife and assess the rest. Do not use fruit that is moldy or smells off. Sorting first helps keep the neat slices neat, which is a modest but worthwhile kitchen victory.
Store hulled or sliced strawberries safely
Keep prepared strawberries cold and covered, and do not leave them at room temperature while you finish other tasks. Store whole hulled berries separately from sliced berries when possible, since cut fruit releases juice more readily. The trade-off is simple: the more you cut in advance, the sooner you should plan to use it.
Refrigerate whole hulled berries in a covered container
Place dry, hulled berries in a clean covered container and refrigerate them. Avoid packing them tightly; pressure can bruise the lower berries. If you are preparing fruit ahead, check the container before use and remove any berry that has softened or spoiled.
For berries you are not using yet, it is generally better to keep them whole and unwashed in the refrigerator, then rinse and dry them shortly before cutting. That reduces extra moisture during storage. Keep the container covered and separate from raw meat or seafood in the refrigerator.
Keep sliced berries chilled and use them promptly
Transfer sliced berries to a clean, covered container and refrigerate them as soon as you finish cutting. USDA guidance for perishable foods is to refrigerate them within two hours, or within one hour when the temperature is above 90°F. Keep the refrigerator at 40°F or below, and use the slices promptly for the best texture.
If you are packing berries for a meal, use a chilled container when practical and return leftovers to the refrigerator quickly. Do not leave a bowl of cut fruit sitting out through a long gathering. The colder, covered storage also helps keep the pieces from picking up odors from other foods.
Discard berries that look moldy or smell off
Check prepared berries before serving. Discard fruit with visible mold, a sour or unusual smell, or a slimy texture. Do not taste a suspicious berry to decide whether it is safe.
If one berry in a container is moldy, remove it and inspect the others closely; discard any that are touching it and show signs of spoilage. When in doubt, throw the questionable fruit away. Fresh berries are easy to replace, and no dessert is improved by taking chances.
What to remember when you hull and slice strawberries
For clean strawberry slices, choose firm fruit, rinse and dry it well, then hull with a small knife or a straw. Set each berry on a stable side, cut with a light hand, and refrigerate prepared fruit promptly so it stays in good shape until serving.
Frequently Asked Questions
Do you wash strawberries before hulling them?
Yes, rinse the berries gently under cool running water before you hull them, then dry them thoroughly. If you are storing berries for later, leave them unwashed until you are ready to prepare them.
Is it better to hull strawberries with a knife or a straw?
A small paring knife offers more control over how much fruit you remove. A straw can be faster for firm berries, but it may bend or push out extra flesh.
How do you hull strawberries without wasting fruit?
Use a paring knife to make a shallow angled cut around the leafy cap and lift out the small core. Avoid slicing off the entire top, which removes more of the berry than necessary.
Should you slice strawberries lengthwise or crosswise?
Slice lengthwise for wedges or longer pieces, and crosswise for rounds. Choose the cut that best suits the dish and keep the pieces a similar thickness.
How thick should strawberry slices be?
Use thinner slices for layering or garnish and thicker pieces when you want them to hold their shape in a fruit salad. Consistency matters more than an exact measurement.
How long can sliced strawberries sit out?
Follow USDA guidance for perishable foods: refrigerate cut fruit within two hours, or within one hour when the temperature is above 90°F. Keep it chilled at 40°F or below.
Can you hull strawberries ahead of time?
You can hull berries ahead and refrigerate them in a covered container, but keep them dry and use them promptly. For the best texture, slice them closer to serving time.